Stable Diffusion WebUI-Forge
I love creating images with Stable Diffusion. I use it to quickly create thumbnails for my website, wallpaper for my desktop, crafting templates for my girlfriend, and have even used it to create some stunning comic art, which I printed, framed, and put on my wall at home.
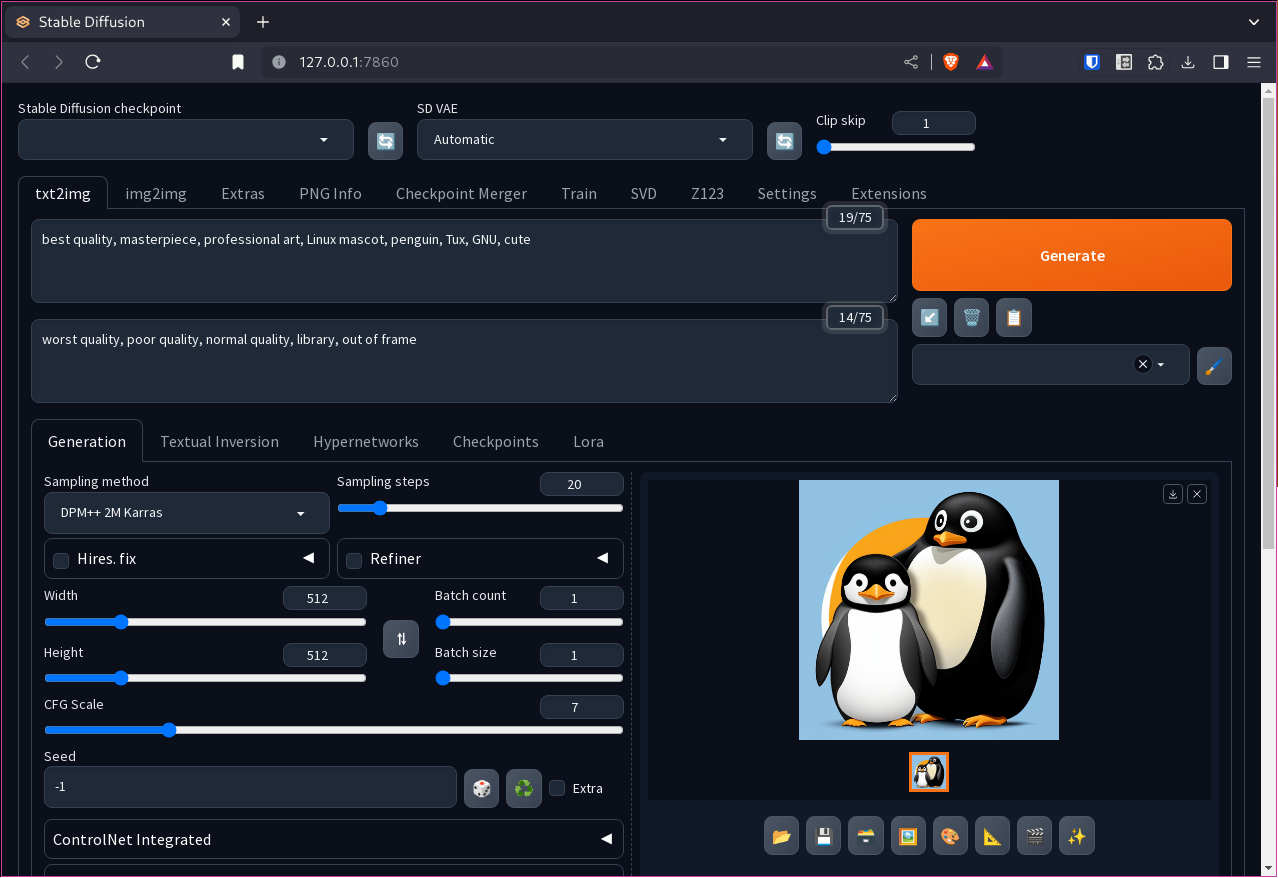
Recently, I heard about a fork of the project, which claims to offer faster generation speeds, and also has a lot of the most commonly used features already built-in. The project is named stable-diffusion-webui-forge.
However, when I tried to use this on Arch Linux + NVIDIA - it failed to install. 😥
I even tried to install it via another method named StabilityMatrix - which is another cool project which aims to make installing AI tools easier. Sadly, for me, that install method failed too.
Therefore, I thought I'd have a look at installing it manually on Arch Linux myself.
And... it works!
Miniconda Installation:
First ensure that you have Miniconda installed and correctly enabled:
1mkdir -p ~/miniconda3
2wget https://repo.anaconda.com/miniconda/Miniconda3-latest-Linux-x86_64.sh -O ~/miniconda3/miniconda.sh
3bash ~/miniconda3/miniconda.sh -b -u -p ~/miniconda3
4rm -rf ~/miniconda3/miniconda.sh
then:
1# For Bash users
2~/miniconda3/bin/conda init bash
3## For zsh users
4~/miniconda3/bin/conda init zsh
Close any existing terminal windows, then, open a new one. You should now see that the conda base environment is activated:

If for any reason you don't want the conda base environment active all the time, you can enter this into your terminal:
1conda config --set auto_activate_base false
💡 I have the conda
baseenvironment disabled on my Arch Linux install, as sometimes it can cause issues when compiling and installing programs withpacmanandyay. I only activate conda environments when I am using them. 👍
Installing stable-diffusion-webui-forge
There are a few things we need to do to get things going:
- Clone the stable-diffusion-webui-forge repository,
- cd into the
stable-diffusion-webui-forge/folder, - Create a sd-forge conda environment,
- Install Python 3.10,
- Activate the sd-forge conda environment,
- Install missing dependencies.
Ensure you have Miniconda correctly installed as described earlier - then you can open a terminal and enter the following to install the webUI:
 1# Clone the git repo
 2git clone https://github.com/lllyasviel/stable-diffusion-webui-forge.git
 3# Change directory
 4cd stable-diffusion-webui-forge/
 5# Create the conda environment and install Python 3.10
 6conda create --name sd-forge python=3.10
 7# Activate the conda environment
 8conda activate sd-forge
 9# Install missing dependencies
10conda install -c conda-forge gcc=12.1.0
11pip install -r requirements.txt
12# Run the webui
13./webui.sh
To run stable-diffusion-webui-forge in the future, you only need to run:
1# cd to/the/path/you/installed/stable-diffusion-webui-forge
2conda activate sd-forge
3./webui.sh
Custom Launcher
I don't want to have to keep manually activating the correct conda environment each time I want to run the webUI, therefore, I created a simple script to do that for me:
1# Inside the stable-diffusion-webui-forge/ folder
2touch run.sh && chmod +x run.sh
then add the following to the run.sh file and save it inside the stable-diffusion-webui-forge/ folder:
1#!/usr/bin/env bash
2source ~/miniconda3/etc/profile.d/conda.sh
3conda activate sd-forge
4# run the stable-diffusion-webui-forge startup script
5./webui.sh
To launch it, do:
1./run.sh