Stable Diffusion WebUI-Forge
I love creating images with Stable Diffusion. I use it to quickly create thumbnails for my website, wallpaper for my desktop, crafting templates for my girlfriend, and have even used it to create some stunning comic art, which I printed, framed, and put on my wall at home.
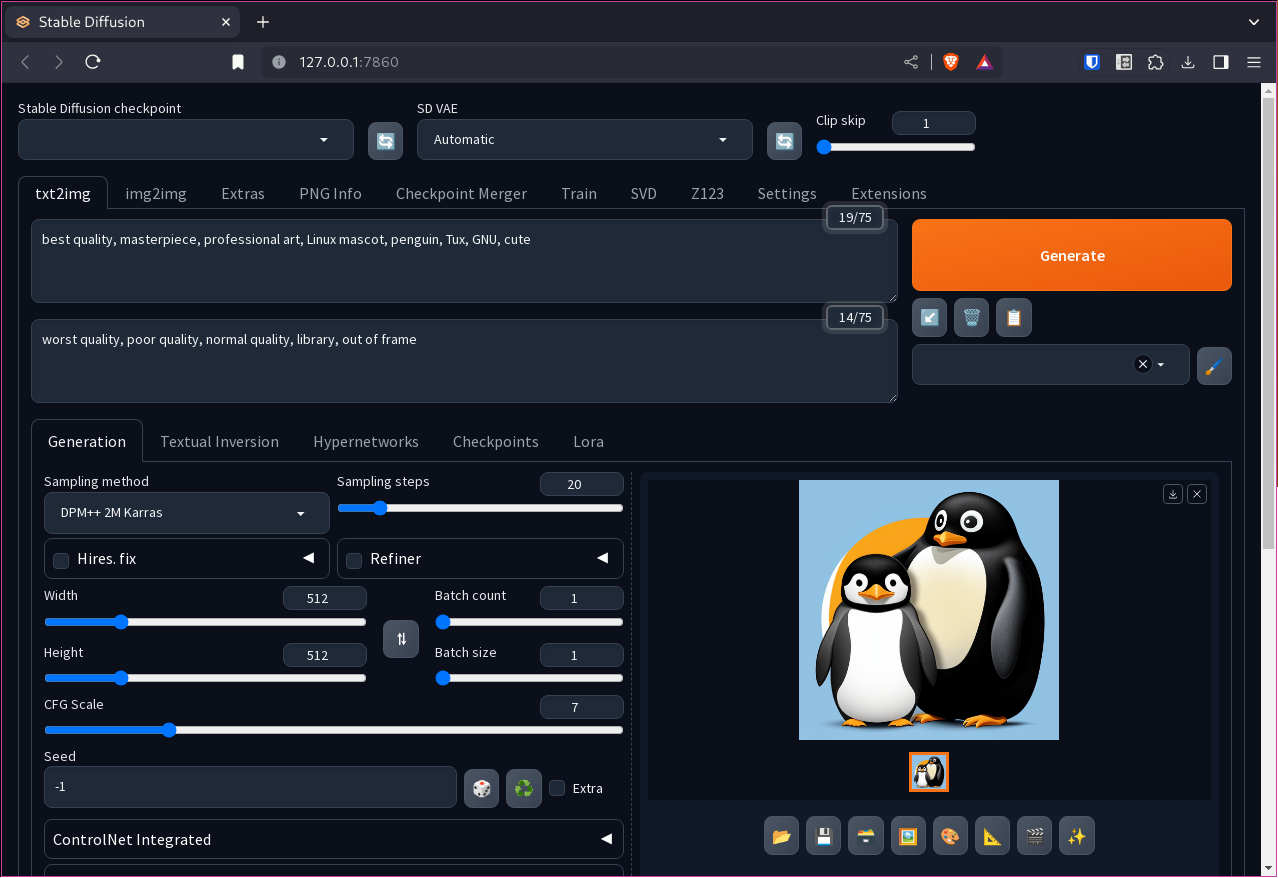
Recently, I heard about a fork of the project, which claims to offer faster generation speeds, and also has a lot of the most commonly used features already built-in. The project is named stable-diffusion-webui-forge.
However, when I tried to use this on Arch Linux + NVIDIA - it failed to install. 😥
I even tried to install it via another method named StabilityMatrix - which is another cool project which aims to make installing AI tools easier. Sadly, for me, that install method failed too.
Therefore, I thought I'd have a look at installing it manually on Arch Linux myself.
And... it works!
Miniconda Installation
First ensure that you have Miniconda installed and correctly enabled:
1mkdir -p ~/miniconda3
2wget https://repo.anaconda.com/miniconda/Miniconda3-latest-Linux-x86_64.sh -O ~/miniconda3/miniconda.sh
3bash ~/miniconda3/miniconda.sh -b -u -p ~/miniconda3
4rm -rf ~/miniconda3/miniconda.sh
then:
1# For Bash users
2~/miniconda3/bin/conda init bash
3## For zsh users
4~/miniconda3/bin/conda init zsh
Close any existing terminal windows, then, open a new one. You should now see that the conda base environment is activated:

If for any reason you don't want the conda base environment active all the time, you can enter this into your terminal:
1conda config --set auto_activate_base false
💡 I have the conda
baseenvironment disabled on my Arch Linux install, as sometimes it can cause issues when compiling and installing programs withpacmanandyay. I only activate conda environments when I am using them. 👍
Installing stable-diffusion-webui-forge
There are a few things we need to do to get things going:
- Clone the stable-diffusion-webui-forge repository,
- cd into the
stable-diffusion-webui-forge/folder, - Create a sd-forge conda environment,
- Install Python 3.10,
- Activate the sd-forge conda environment,
- Install missing dependencies.
Ensure you have Miniconda correctly installed as described earlier - then you can open a terminal and enter the following to install the webUI:
 1# Clone the git repo
 2git clone https://github.com/lllyasviel/stable-diffusion-webui-forge.git
 3# Change directory
 4cd stable-diffusion-webui-forge/
 5# Create the conda environment and install Python 3.10
 6conda create --name sd-forge python=3.10
 7# Activate the conda environment
 8conda activate sd-forge
 9# Install missing dependencies
10conda install -c conda-forge gcc=12.1.0
11pip install -r requirements.txt
12# Run the webui
13./webui.sh
To run stable-diffusion-webui-forge in the future, you only need to run:
1# cd to/the/path/you/installed/stable-diffusion-webui-forge
2conda activate sd-forge
3./webui.sh
Custom Launcher
I don't want to have to keep manually activating the correct conda environment each time I want to run the webUI, therefore, I created a simple script to do that for me:
1# Inside the stable-diffusion-webui-forge/ folder
2touch run.sh && chmod +x run.sh
then add the following to the run.sh file and save it inside the stable-diffusion-webui-forge/ folder:
1#!/usr/bin/env bash
2source ~/miniconda3/etc/profile.d/conda.sh
3conda activate sd-forge
4# run the stable-diffusion-webui-forge startup script
5./webui.sh
To launch it, do:
1./run.sh
Resources
Models
Download and copy your favourite checkpoints to your stable-diffusion-webui-forge/models/Stable-diffusion/ folder.
- Sadly, due to UK law, I am unable to provide a URL to obtain checkpoints from sites which may also happen to host adult material! So, you may need to search and obtain these yourself.
VAE
Download and copy any "vae.safetensor" files to your stable-diffusion-webui-forge/models/VAE/ folder.
LoRA
Download and copy any LoRA files to the stable-diffusion-webui-forge/models/Lora/ folder.
ControlNet
Download and copy to stable-diffusion-webui-forge/models/ControlNet/
