Kokoro-FastAPI TTS & KoboldCpp
Overview
I've already covered how to use the AllTalk_TTS, together with KoboldCpp in my previous guide. In this guide, I explain how to download and install Kokoro-FastAPI TTS as an alternative for your AI voice chat sessions.
First Impressions
In my testing, I observed that Kokoro-FastAPI TTS generates voice audio far quicker than the coqui/XTTS-v2. It has a wide collection of voices to choose from too. It supports voice output in English, Japanese and Chinese, with more to follow later according to the documentation. Phoneme-based audio generation, and voice mixing with weighted combinations.
Update (24-08-2025): There was an update to KoboldCpp (version 1.98), which adds support for the Kokoro_no_espeak_Q4.gguf (CPU only). However, in my testing of this, it took twenty-five seconds to generate a one hundred-word paragraph on my system (Arch Linux/Intel + NVIDIA RTX 4070). For casually chatting to a chatbot, having to wait that long for a reply was just too much for me. The Kokoro-FastAPI method, which I outline below, can generate the same one hundred-word paragraph in less than three seconds on the same system, but using the GPU for the TTS model. This makes real-time voice-to-voice conversations possible.
Download & Install
First, ensure that you have uv and espeak-ng installed.
Since I'm using Arch Linux, I can do this with:
1yay -S uv espeak-ng
I assume that you already have git installed, therefore, clone the Kokoro-FastAPI repo to your desired working folder.
For this example I'll be using my Projects folder:
1cd Projects/
2git clone https://github.com/remsky/Kokoro-FastAPI.git
3cd Kokoro-FastAPI/
If you have your AI project folder symlinked to another drive like I do, you may wish to enter this into the terminal before proceeding:
1export UV_LINK_MODE=copy
then:
1uv venv
2./start-gpu.sh
If all goes well, you should see:
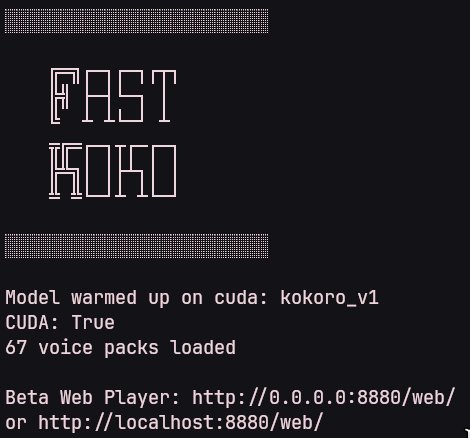
The Kokoro-FastAPI server is now running and useable.
Testing voices
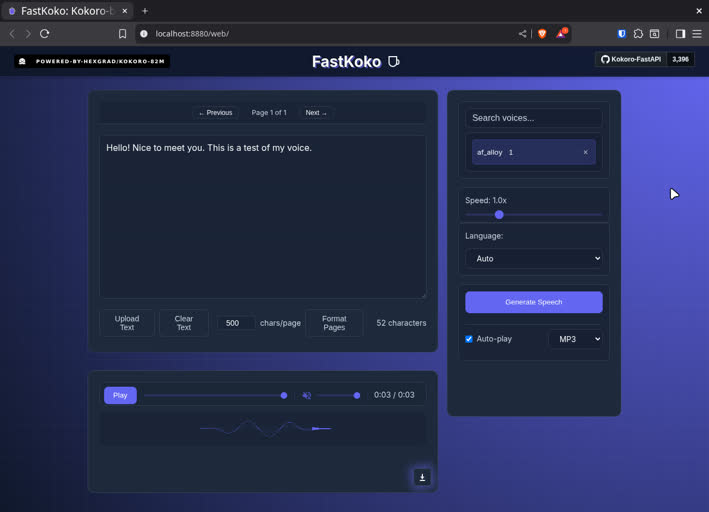
You can click on the URL in the terminal http://localhost:8880/web/ to access the web user interface.
This is a great way to test the voices before using them with KoboldCpp.
- Enter some text into the text field.
- Select from a choice of voices to use on the right side of the page.
- Press the Generate Speech button to get a sample of how it will sound.
You probably noticed that each voice has a name, like "af_sky", "bf_emma", "bm_george". The first letter "a" means the voice is American, while "b", means it is British. The second letter "f" in the name means female, and "m" stands for male, and so on.
Make a note of the voice name you like. This is what we will enter into the KoboldCpp > Media tab, to have the API use that specific voice.
For this example I'll choose: af_sky, but you can find the full list of voice names on the models huggingface page.
Launch KoboldCpp
I won't cover how to install and launch KoboldCpp in this guide, as I have covered it fully in my previous guide, so please refer to that to get up and going.
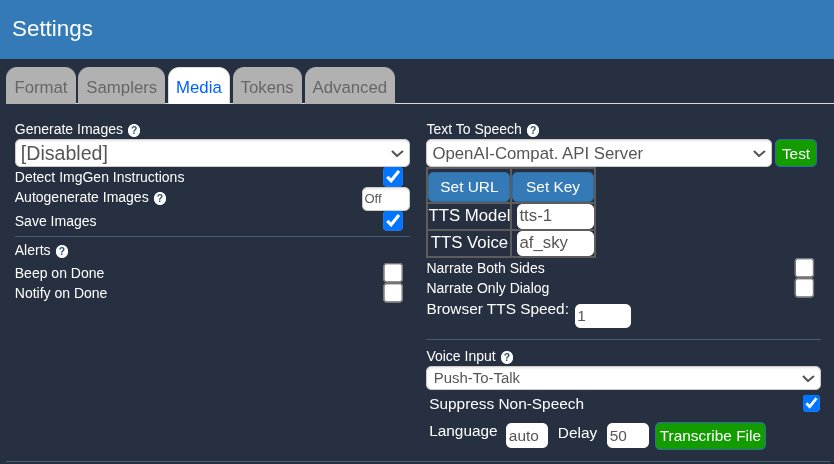
- Once KoboldCpp has loaded, click on "Settings", then left-click on the "Media" tab.
- Then, select the drop-down menu located under "Text To Speech" and select the "OpenAI-Compat. API Server" option.
- Next, press the "SET URL" button, and enter:
http://localhost:8880/v1/audio/speech - Enter the voice name:
af_skyin the "TTS Voice" field, and press Return. - Enable "Push-To-Talk" in the "Voice Input" dropdown menu.
- Press OK.
You can now press and hold the little microphone icon on the bottom right of the chat window and speak to your AI. It will respond back using the Kokoro-FastAPI along with the voice you selected.
Useful Resources
