Awesome Window Manager: Part 4
In part four of my "ricing awesome WM" guide, we'll look at setting a screen resolution using xrandr.
Display Settings
The way in which you manage your screen resolutions when using a window manager differs slightly from what you're used to when using Xfce. In Xfce, you most likely used the "xfce4-settings Display" app to manage setting your screen resolutions and layouts. However, since we're using AwesomeWM and not the Xfce desktop, the "Display" app has no affect here. Therefore, we need to use something different.
ARandR
The easiest way to change your display resolutions, refresh rates and screen positions when using AwesomeWM is to use ARandR: "Another XRandR GUI" which is a GUI for xrandr.
Installing
1sudo pacman -S arandr
Once you've installed arandr, you can run it with Rofi: Super + Space, and type "arandr"
In the arandr GUI, you can position your screens to where you want them by left-clicking and dragging them into position. You can set your screen resolution from the "Outputs" menu or by right-clicking on a screen in the window.
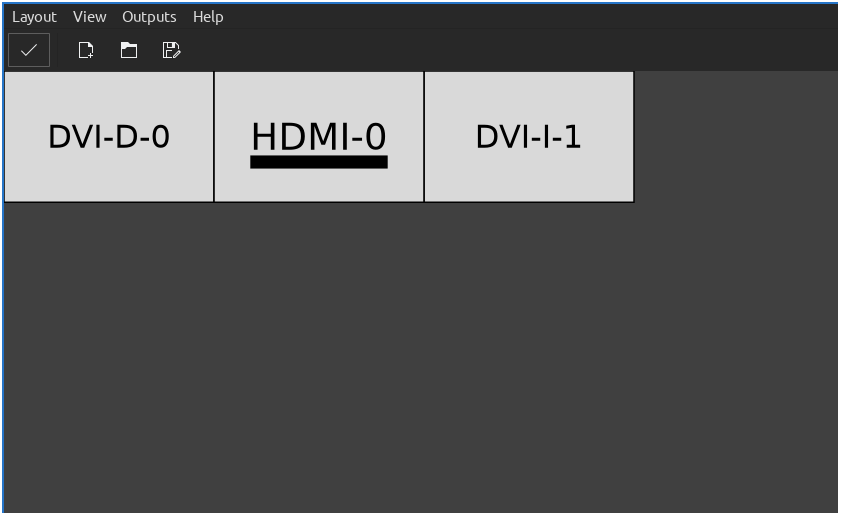
arandr is an easy way to set your screen resolutions for use with AwesomeWM.
Once you're happy with your display settings, you can press the Apply button (top left) to set it.
Set Screen Resolution On Login
In order for Awesome to use your display layout settings the next time you log in, you'll need to save the layout configuration to a file and add the file path to your autostart.sh script.
To do this,
- In the arandr window, go to the "Layout" menu and choose "Save As",
- Save the file to
~/.scripts/awesome_display_layout.sh
Ensure your scripts are executable:
1chmod +x ~/.scripts/awesome_display_layout.sh
Next, open your ~/.scripts/awesome_autostart.sh file with a text editor, and on a new line, (preferably before your apps) enter:
1# xrandr layout for AwesomeWM
2run ~/.scripts/awesome_display_layout.sh &
Below is my autostart.sh script, so you can see how I do it:
 1#!/usr/bin/env bash
 2# .scripts/awesome_autostart.sh
 3# Launch Apps when AwesomeWM starts.
 4
 5function run {
 6  if ! pgrep -f $1 ;
 7  then
 8    $@&
 9  fi
10}
11
12# List the apps you wish to run on startup below preceded with "run"
13
14# Policy kit (needed for GUI apps to ask for password)
15run /usr/lib/polkit-gnome/polkit-gnome-authentication-agent-1
16# xrandr layout for AwesomeWM
17run ~/.scripts/awesome_display_layout.sh
18# Start compositor
19run picom --experimental-backend
20# sxhkd Hotkeys
21run sxhkd
22# Start Volume Control applet
23run volctl
24# Start Network Manager Applet
25run nm-applet
26# Set Numlock key to active.
27run numlockx
28# Screensaver
29run xscreensaver -no-splash
30# Pamac system update notifications
31run pamac-tray
32# Start Dropbox
33run dropbox
34# Bluetooth
35run blueman-tray
36# MPD
37run mpd ~/.config/mpd/mpd.conf
38# Unclutter - (hides mouse pointer after 5 seconds of inactivity)
39run unclutter
The next time you log in to Awesome, it will execute the awesome_display_layout.sh script and set your display configuration for you.
